SEI Bitbucket integration
Bitbucket is a web-based version control repository hosting service, for source code and development projects that use either Mercurial or Git revision control systems.
Use the SEI Bitbucket integration to integrate SEI with Bitbucket Cloud or Bitbucket Data Center (Enterprise).
Requirements
The following permissions and settings are required to use the SEI Bitbucket integration:
- You have a Bitbucket account.
- Your role is Member or higher.
Connect with Bitbucket Cloud
- In your Harness Project, select the SEI Module, and go to your Account.
- Select Integrations under Data Settings.
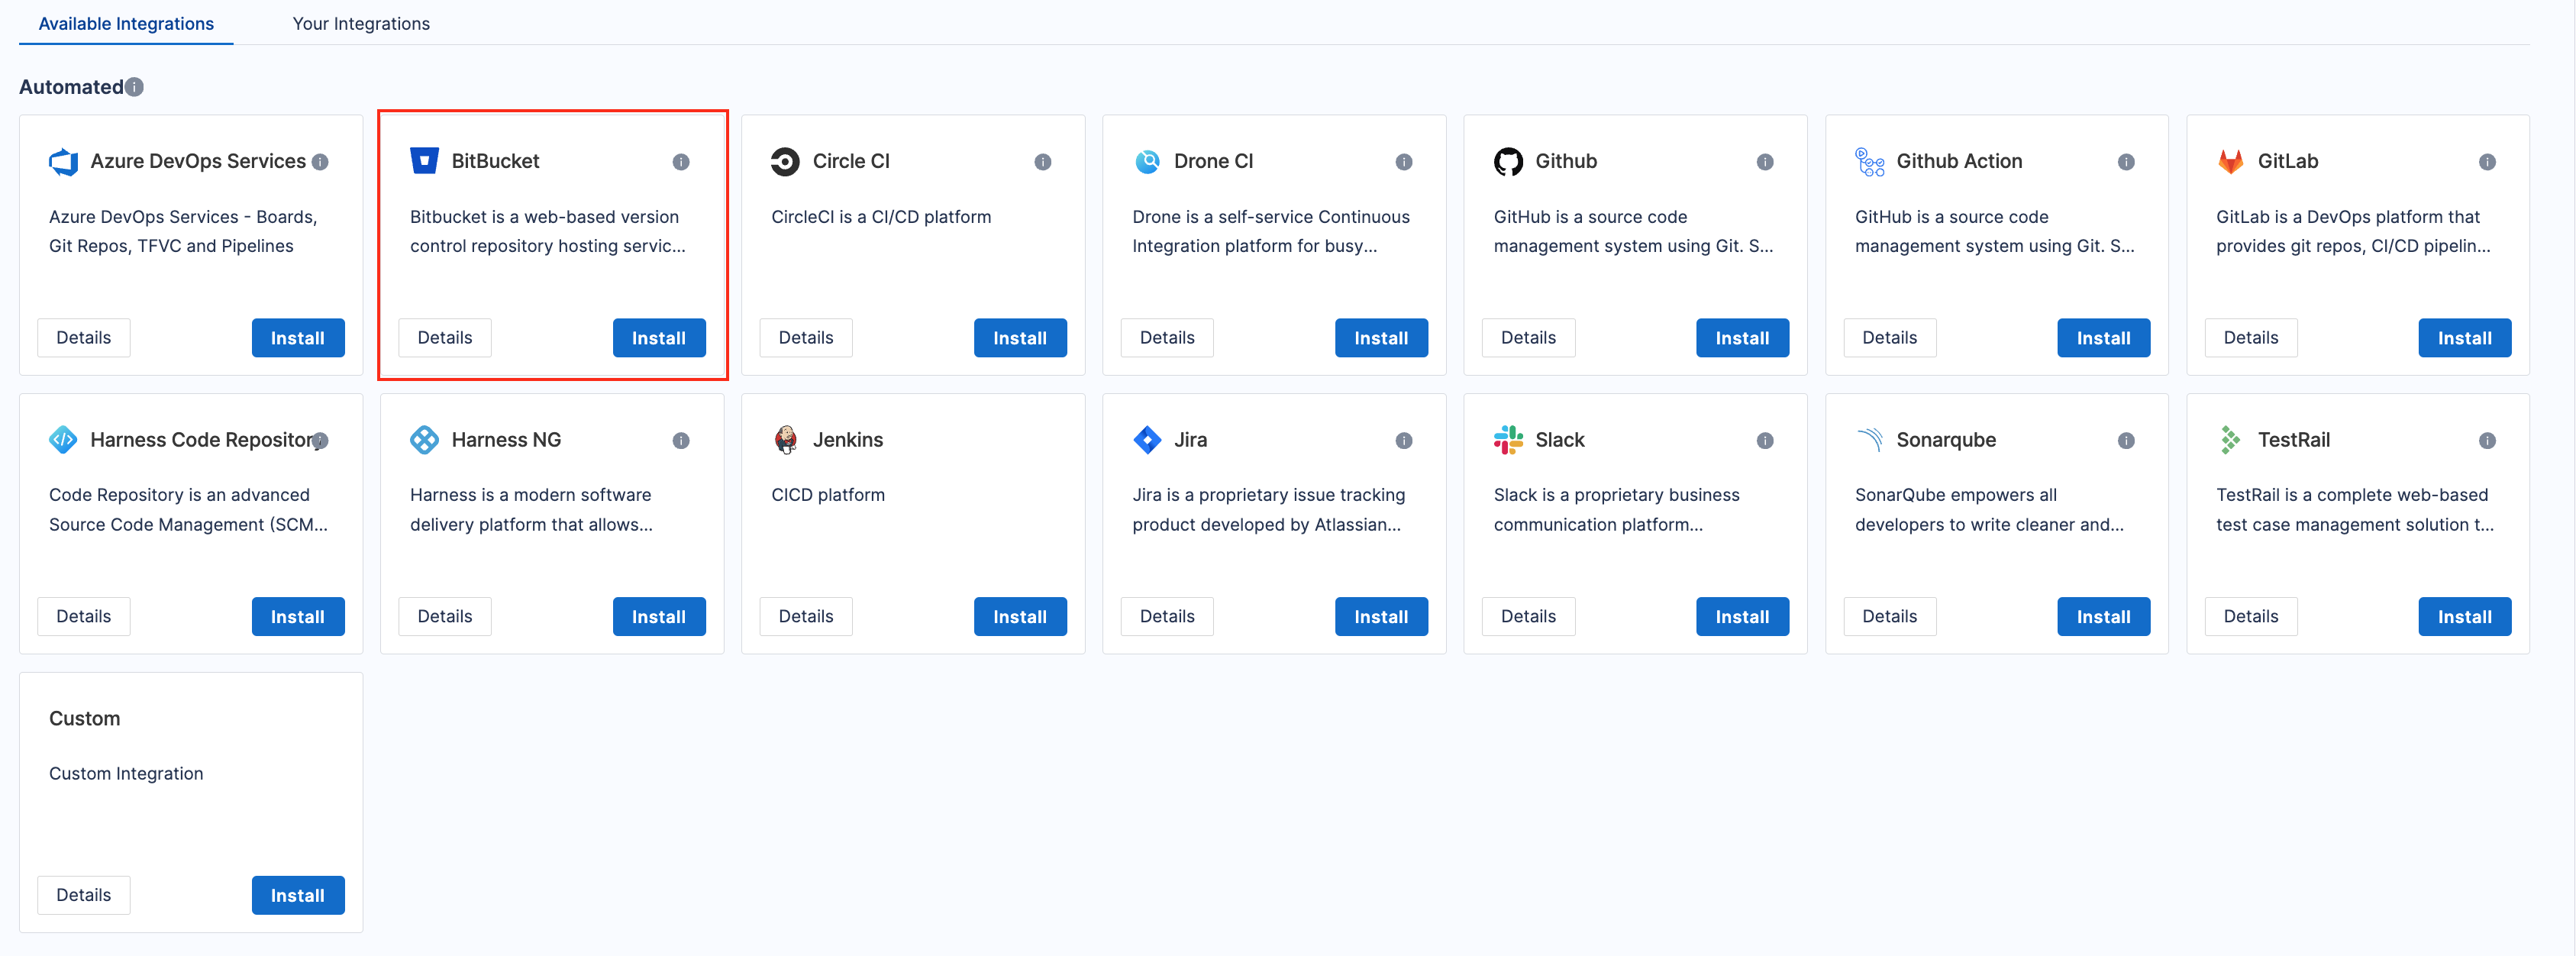
- Select Available Integrations, and locate the Bitbucket integration, and select Install
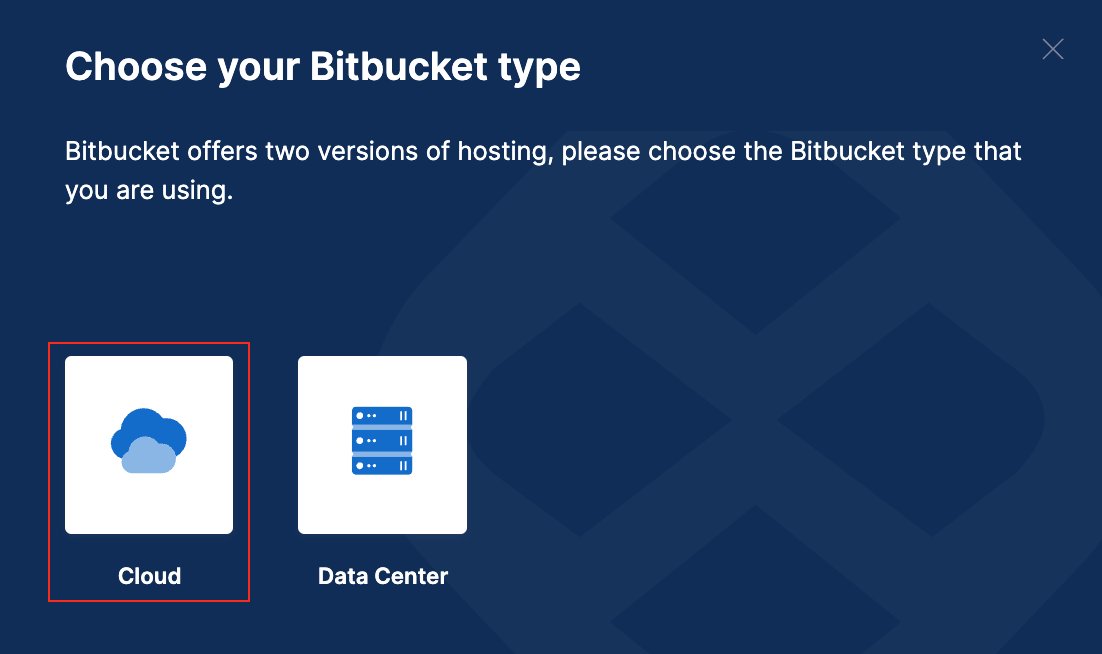
- Select the type of your Bitbucket account as Cloud.
- Choose the authentication type for the integration. You can either use OAuth or App Passwords to set up the authentication with the Bitbucket platform.
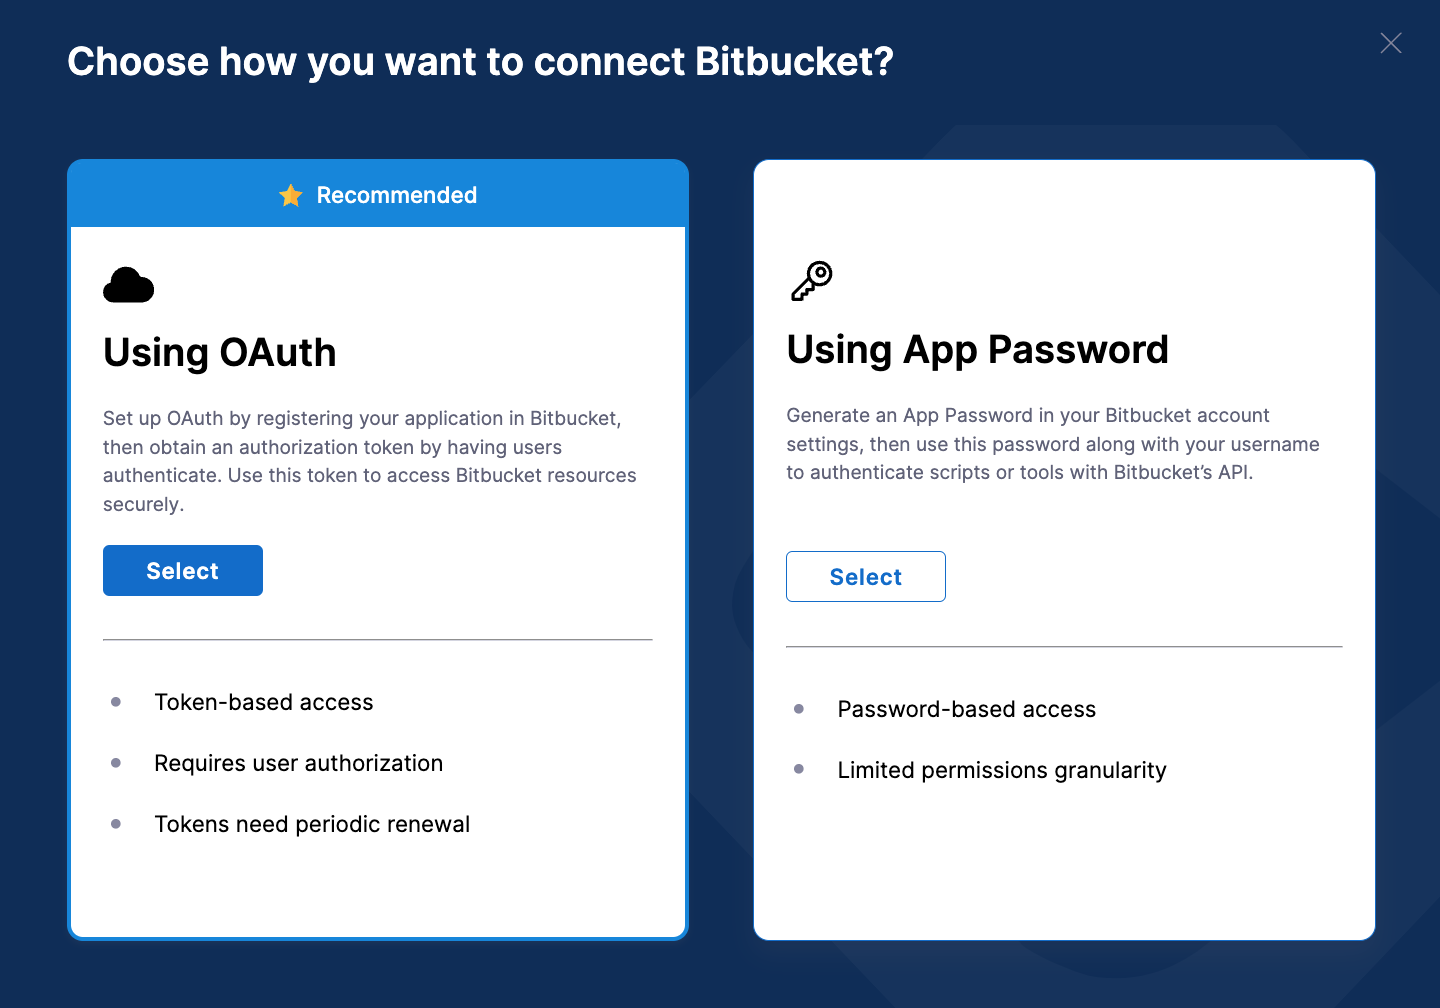
- Using OAuth
- Using App Password
Set up OAuth by registering your application in Bitbucket, then obtain an authorization token by having users authenticate. Use this token to access Bitbucket resources securely.
- If you are redirected to Bitbucket, select Grant Access to allow the integration. You might need to sign in. Bitbucket uses OAuth authentication.
- Enter a Name for the integration.
- The Description and Tags are optional.
- Click on Save to save the integration.
App Passwords in Bitbucket serve as an alternative to OAuth. They are generated in your Bitbucket account and are used to authenticate against the API without using your primary account credentials. Follow the instructions below to generate App Passwords in Bitbucket:
- Sign in to Bitbucket Cloud and log in to your account.
- Navigate to Account Settings:
- Click on your profile picture in the bottom left corner.
- Select Personal settings.
- In the left-hand menu, click App passwords under the Access management section.
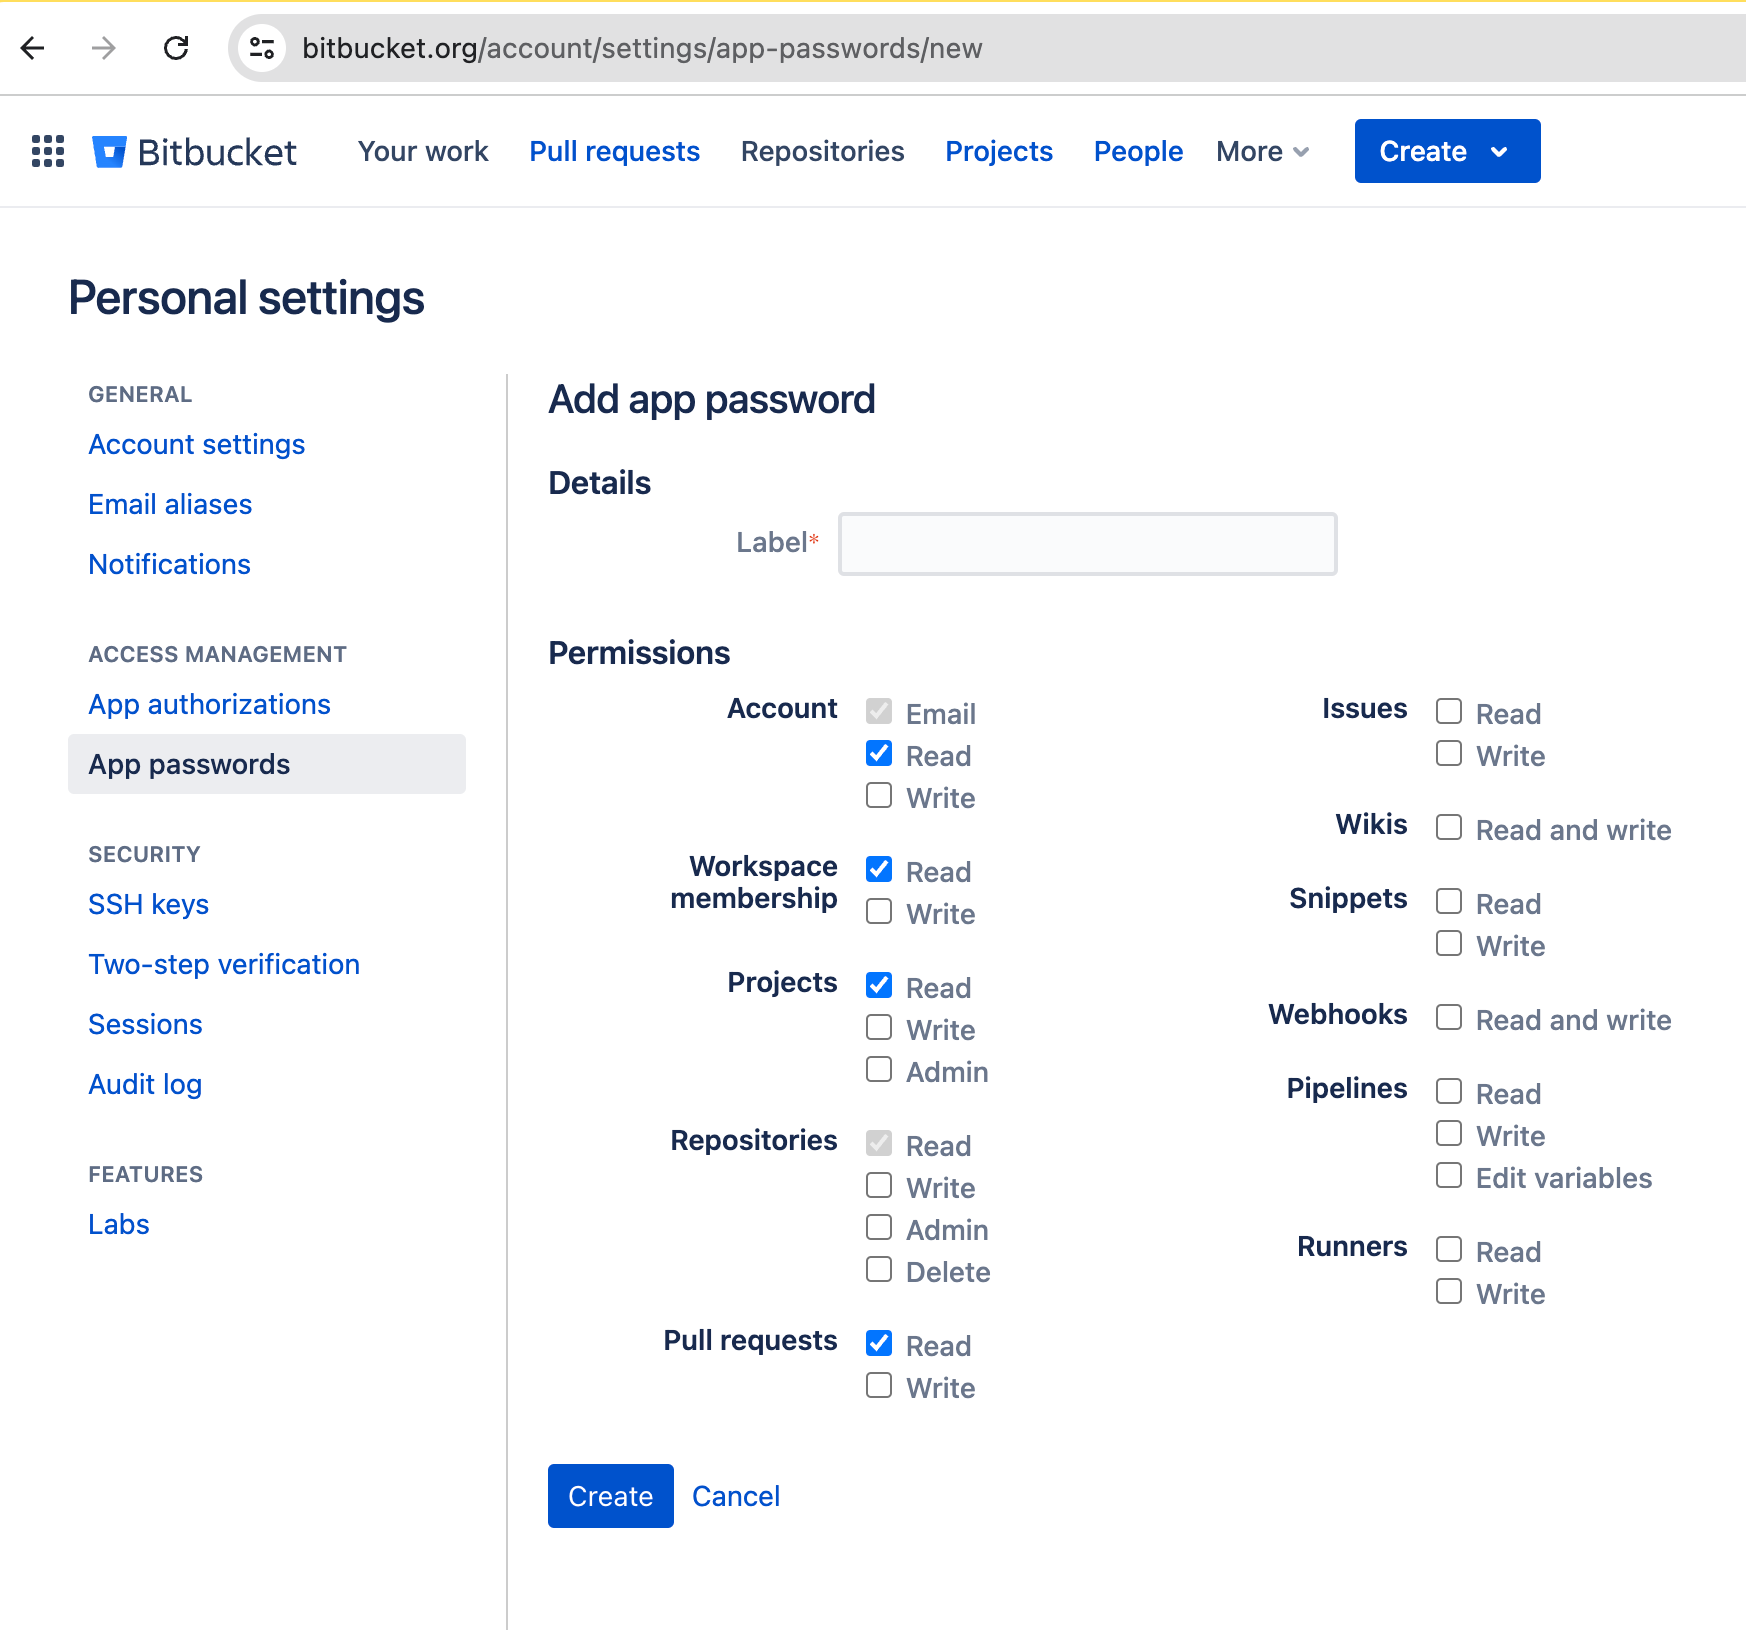
- Click the Create app password button.
- Configure App Password:
- Enter a label for your new app password. This helps you remember what it's used for.
- Select the following permissions required.
- Copy the generated app password and save it securely. (Note that you won't be able to see it again.)
In Harness, go to your integration configuration and click on Next.
- Enter a Name for the integration.
- The Description and Tags are optional.
- Add the Username and Password that you previously generated.
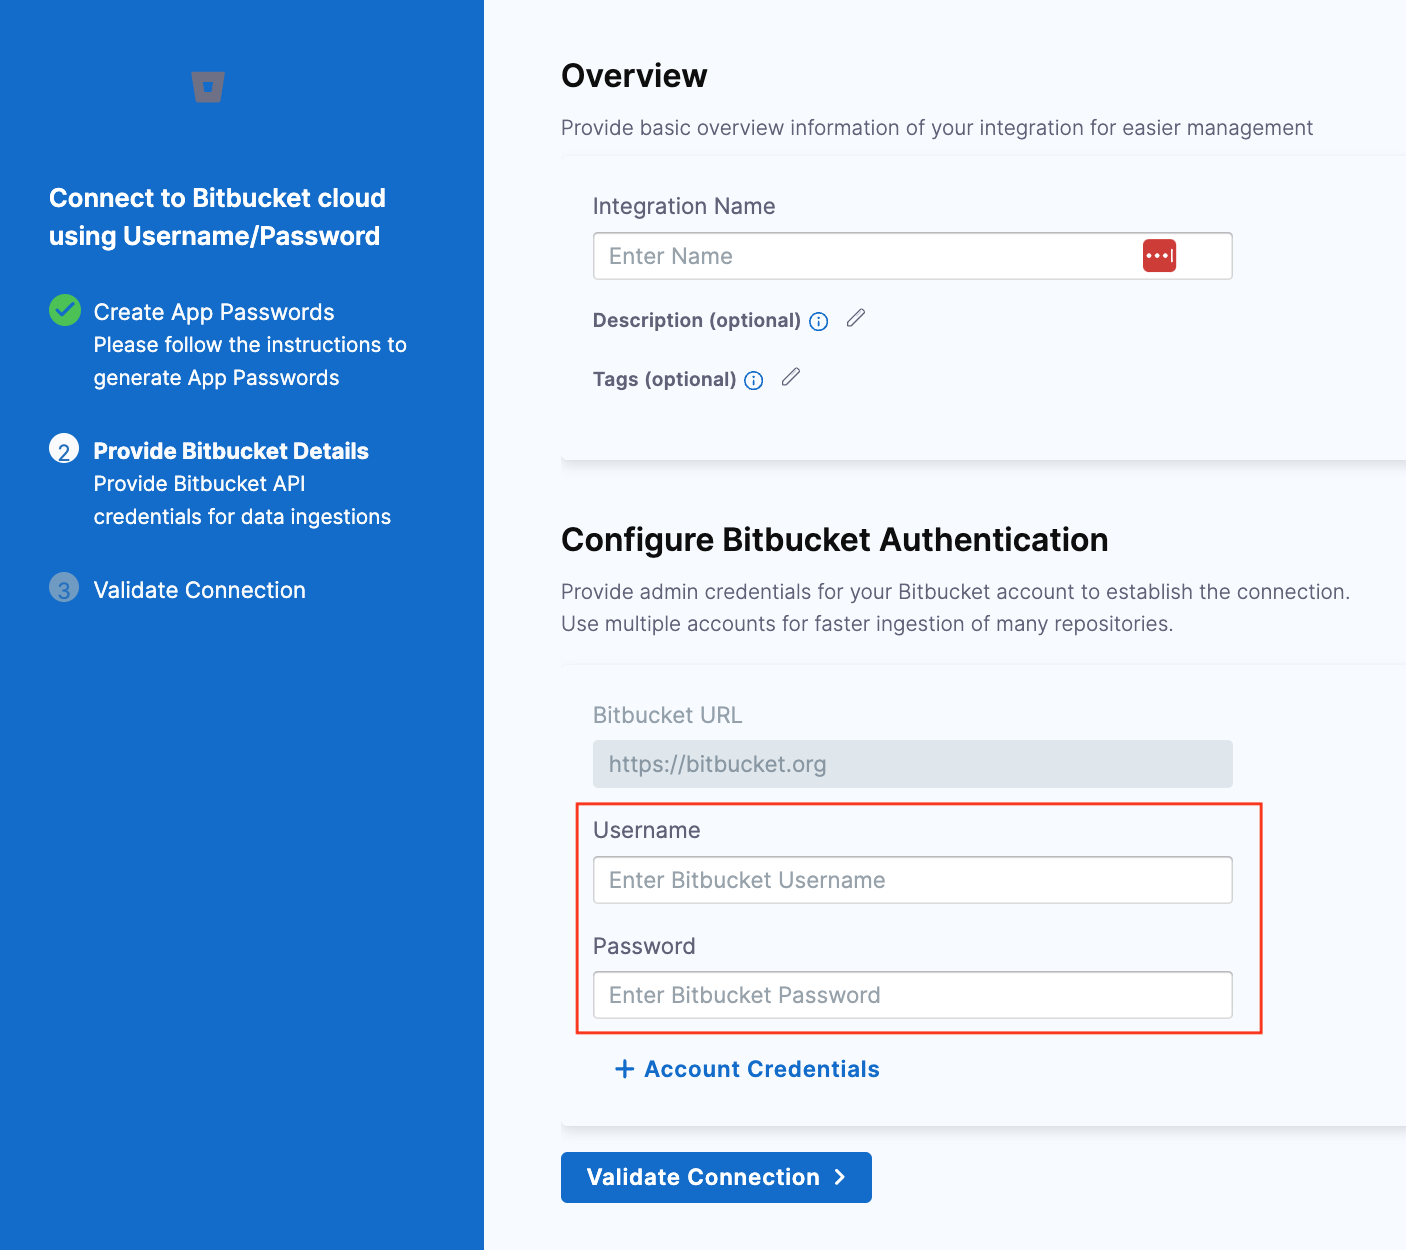
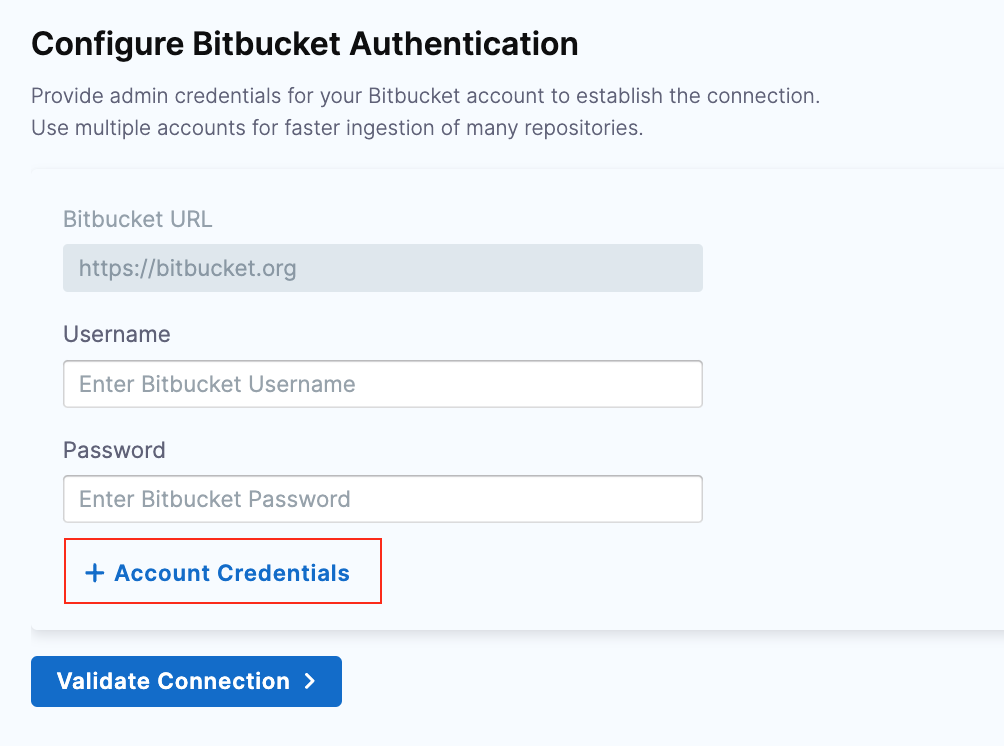
Note that to prevent rate limiting issues, it is recommended to configure the integration with multiple Account Credentials.
- Click on Validate Connection to run the pre-flight checks and validate the connection. Once successful, you'll have the integration set up under the Your Integrations tab.
Connect with Bitbucket Data Center
Bitbucket Data Center (also known as Bitbucket Enterprise) is a self-managed solution for source code collaboration. Harness SEI supports connecting with both Private and Public Bitbucket On-Prem instances.
- In your Harness Project, select the SEI Module, and go to your Account.
- Select Integrations under Data Settings.
- Select Available Integrations, and locate the Bitbucket integration, and select Install
- Select the type of your Bitbucket account as Data Center.
- Choose Authentication Method:
- Use Personal Access Token (PAT) to connect to a Public On-Prem Bitbucket server.
- Use Ingestion Satellite to connect to a Private On-Prem Bitbucket server
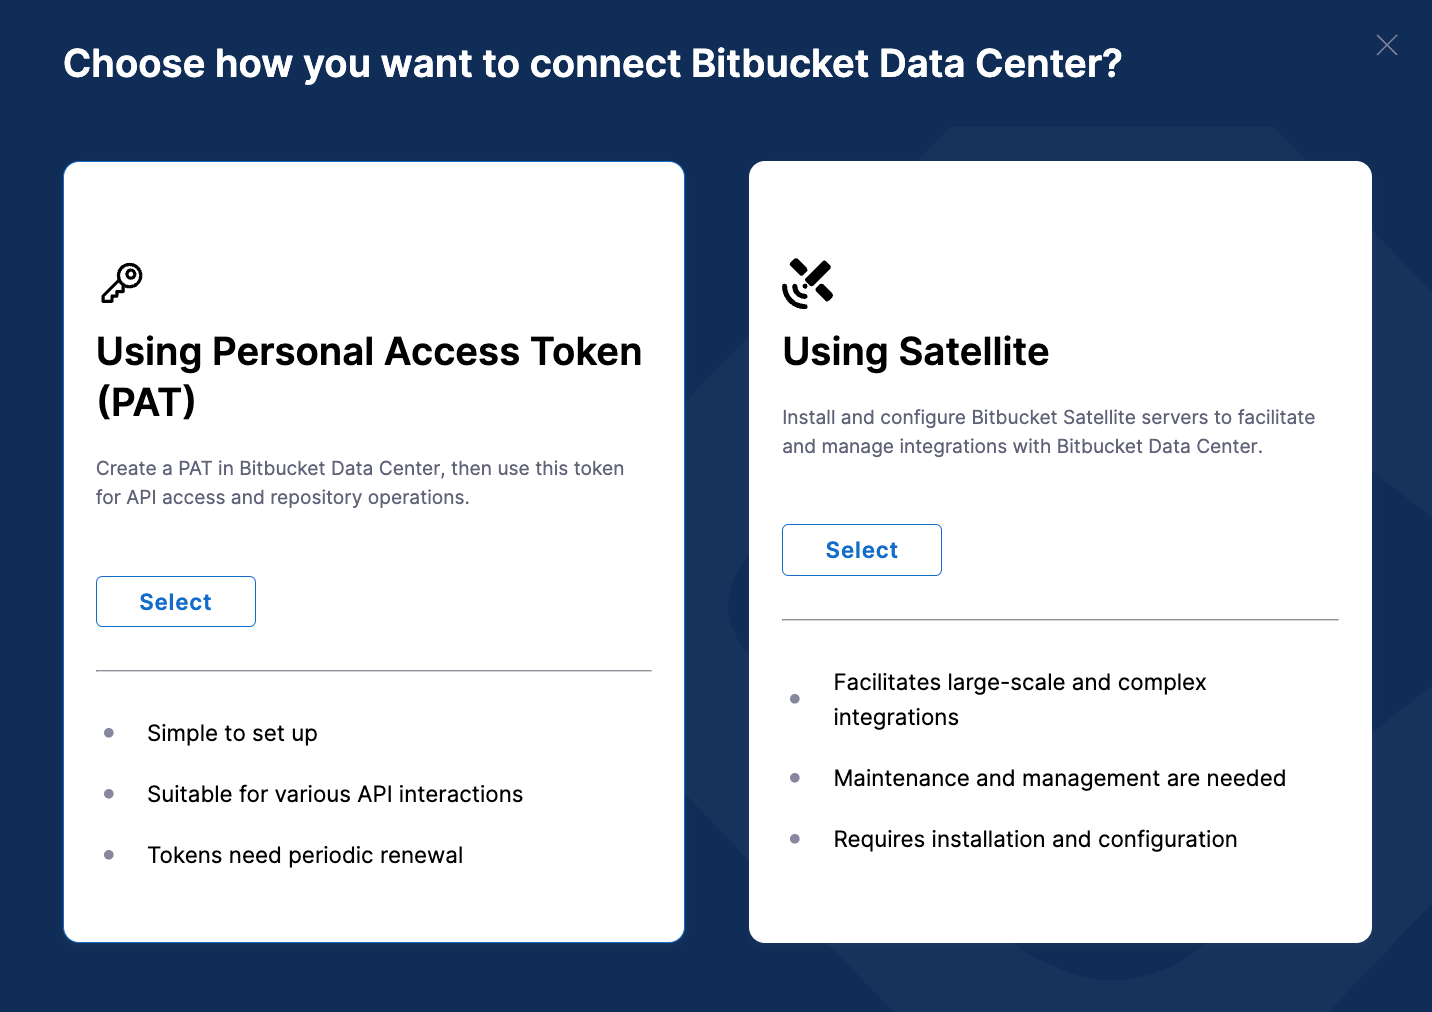
- Using PAT
- Using Ingestion Satellite
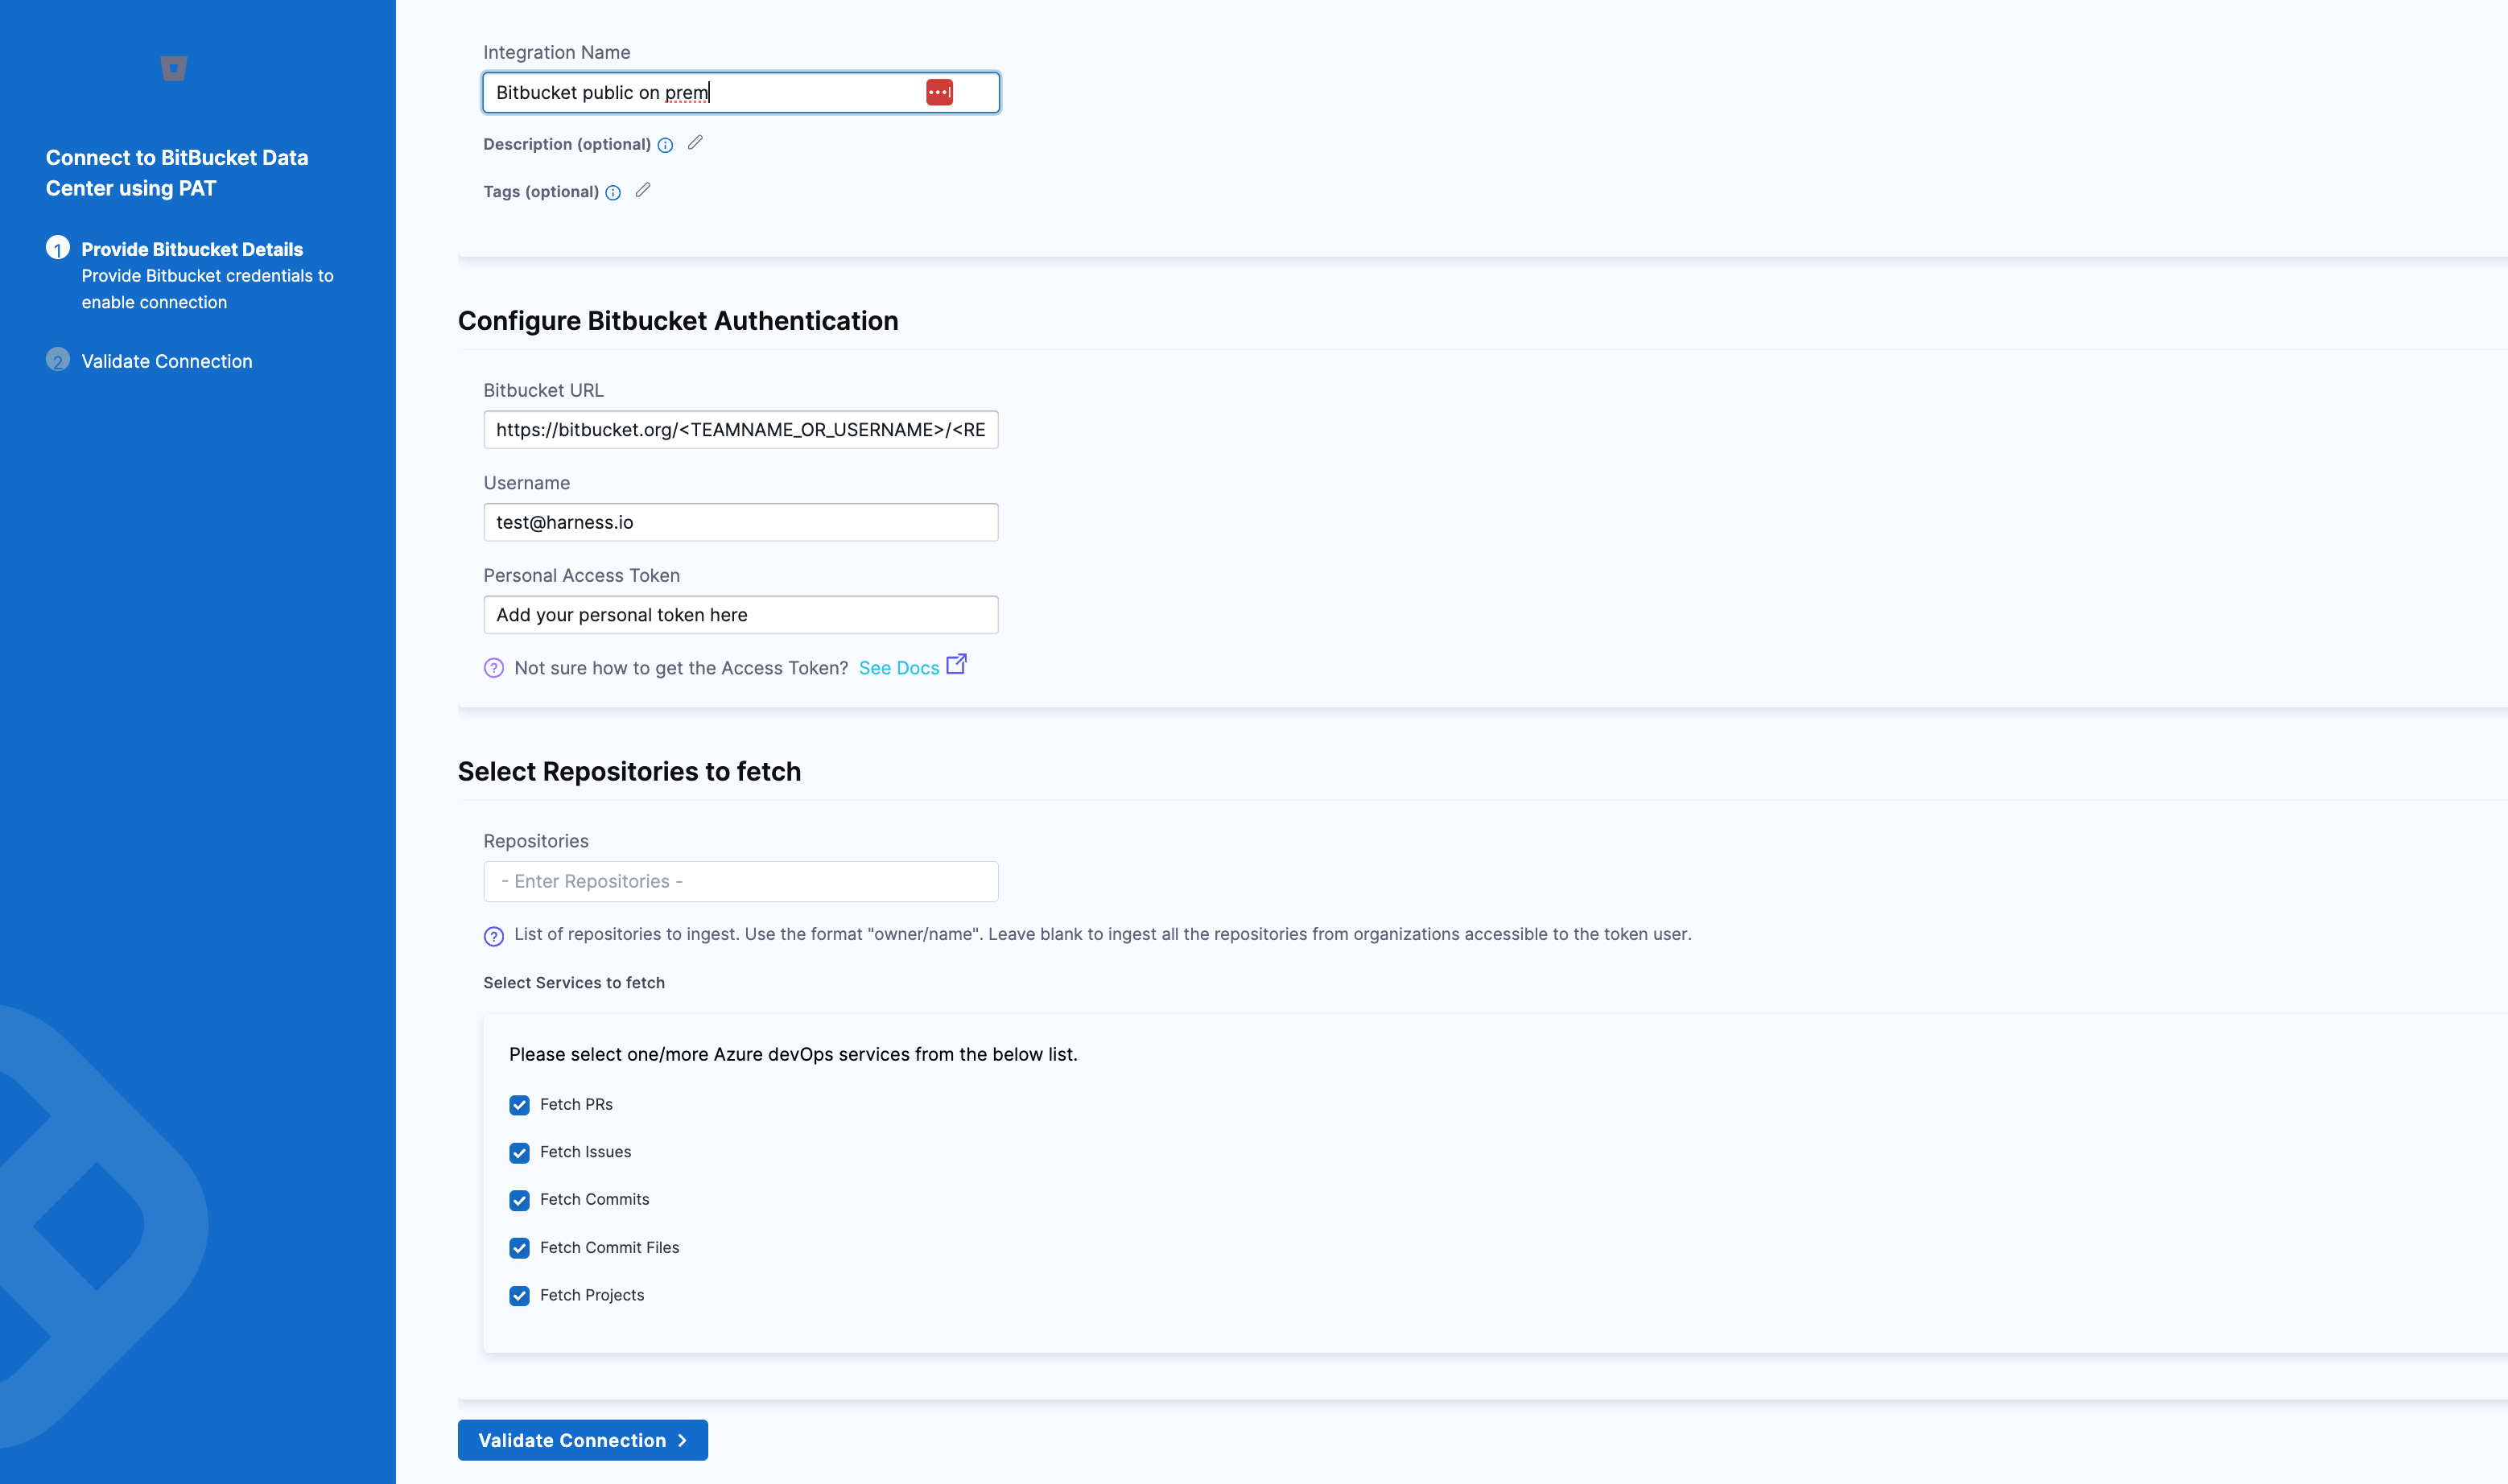
- Enter a Name for the integration.
- The Description and Tags are optional.
- Enter the URL for the Bitbucket Public On-Prem Instance in the format
https://bitbucket.org/<TEAMNAME_OR_USERNAME>/<REPOSITORY_NAME>/src - Enter your Username
- Enter the Bitbucket Personal Access Token. To generate an PAT token for your Bitbucket account, go to Managing PAT tokens for Bitbucket.
- Enter Tags and the List of repositories you want to ingest. You can leave this option blank if you want to ingest all the repositories from organizations accessible to the token user.
- You can select the Filters to define the type of data you want to ingest. The available options are Fetch Commits, Fetch PRs, Fetch PRs Reviews, Fetch Commits Fields.
- Click on Validate Connection to run the pre-flight checks and validate the connection. Once successful, you'll have the integration set up under the Your Integrations tab.
- Enter a Name for the integration.
- The Description and Tags are optional.
- Enter the URL for the Bitbucket Public On-Prem Instance in the format
https://bitbucket.org/<TEAMNAME_OR_USERNAME>/<REPOSITORY_NAME>/src - Enter your Username
- Enter the Bitbucket Personal Access Token. To generate an PAT token for your Bitbucket account, go to Managing PAT tokens for Bitbucket.
- Enter Tags and the List of repositories you want to ingest. You can leave this option blank if you want to ingest all the repositories from organizations accessible to the token user.
- You can select the Filters to define the type of data you want to ingest. The available options are Fetch Commits, Fetch PRs, Fetch PRs Reviews, Fetch Commits Fields.
- Download the
satellite.ymlfile and update it following the instructions here.
If you experience any issues while configuring the integration using the Ingestion Satellite, refer to the Ingestion Satellite Troubleshooting and FAQs.
Here’s a sample satellite.yaml:
satellite:
  tenant: <ACCOUNT_ID>
  api_key: <ACCOUNT_API_KEY>
  url: 'https://app.harness.io/gratis/sei/api'
  # Note that this URL is relative to the Environment of your Harness Account.
integrations:
  - id: '<INTEGRATION_ID>'
    application: bitbucket_server
    url: 'https://bitbucket.org/<TEAMNAME_or_USERNAME>/<REPO_NAME>/src'
    username: <BITBUCKET_USERNAME>
    api_key: <BITBUCKET_API_KEY>
    metadata:
      fetch_prs: true
      fetch_pr_reviews: true
      fetch_commits: true
      fetch_commit_files: true
      repos: <REPOSITORIES>
    satellite: true